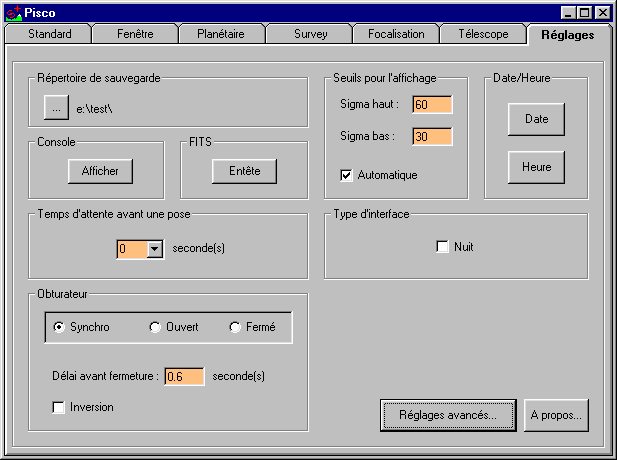
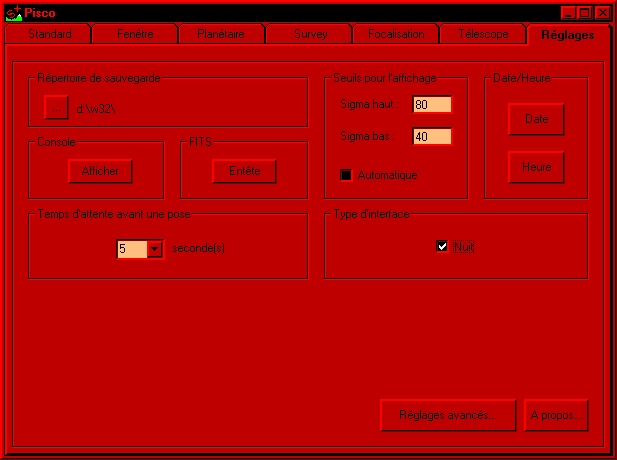
The button in the Image Store Directory zone defines the directory under which the images will be stored by default.
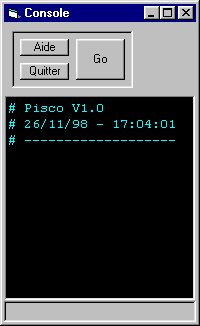
The button in the Console zone opens a console where you can run commands by typing them.
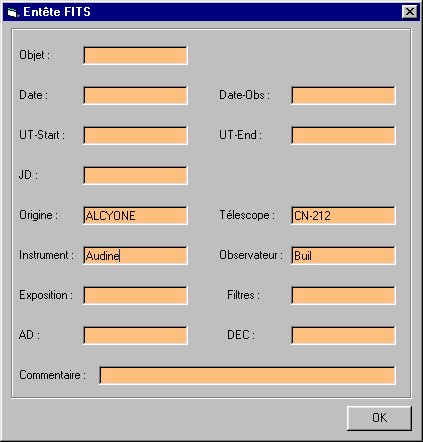
Some parameters of the FITS file (those filled in the above example) stay unchanged until you specifically modify them.
In the Waiting Time before Exposure zone, you can define a time in seconds that represents how long the system waits before the exposure is performed. This is very useful to introduce a delay between the exposures of a sequence (for instance, you can program an exposure every 120 seconds).
Information in the Display Thresholds zone are useful for PISCO to calculate the thresholds used for display when clicking the Auto button in the acquisition modes Standard and Windows. PISCO calculates the noise of the image, then multiplies this noise by High Sigma and adds the resulting value to the background level in order to get the high threshold. For the low threshold, PISCO substracts the noise multiplied by Low Sigma from the background level. If you check the option Automatic, the display is automatically performed using the thresholds that habe been obtained through this algorithm.
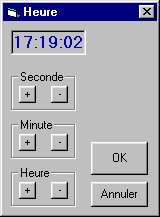
The buttons Date and Time allow you to change the date and time of your PC.

The option Night Vision changes the colors used for the interface so that they are better suited to a night vision.
By default, at boot time and after PISCO is started, this command signal is at the low logical level (OV). This situation corresponds normally to a closed shutter. If you choose the option Synchro, the command signal automatically switches to the high level (+5V) at the beginning of integration time. Of course, at the end of integration time, the command signal goes back to 0 to close the shutter. However, in order to take into account a possible inertia of the mechanical shutter, it is possible to initiate the closing a fraction of second or a few seconds before the expose ends (this is because in some cases, the CCD reading operation may starts before the shutter is actually closed). If necessary, fill the Delay before Closing field with the correct value.
If you choose the option Open, the command signal goes imediatly to the high logical level, which should normally open the shutter. This open state is maintained even during exposures. This option is useful for instance to perform drift-scan imaging.
If you choose the option Closed, the command signal is set to 0, allowing you to perform dark images.
The behavior of the command signal can be totally reversed by checking the check box Reverse. If checked, the positions Closed and Open of the shutter correspond respectively to the high and low levels of the command signal.
Please keep in mind that it is possible to control
the shutter from the console, which is very convenient when setting up the
system.
Back